[Thank to Oscar]
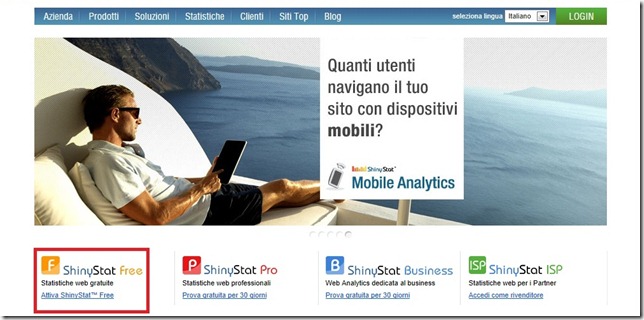
To create a counter of visitors click here, in the page that will open in ShinyStat Free click on Activate ShinyStat Free.
On the next page under service conditions select I accept and Privacy select I agree then click Continue.

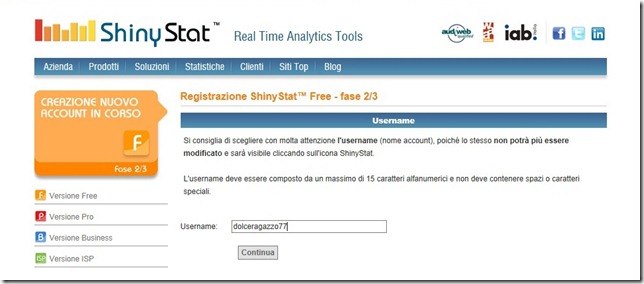
On the next page in the field Username enter the username you want then click on Continue.
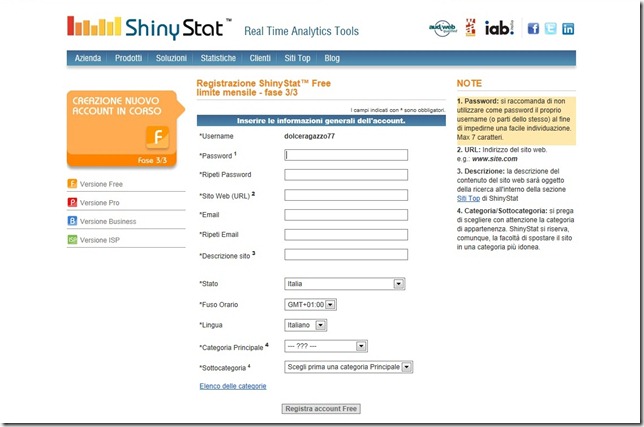
On the next page, fill out all fields and then click on Register free account.
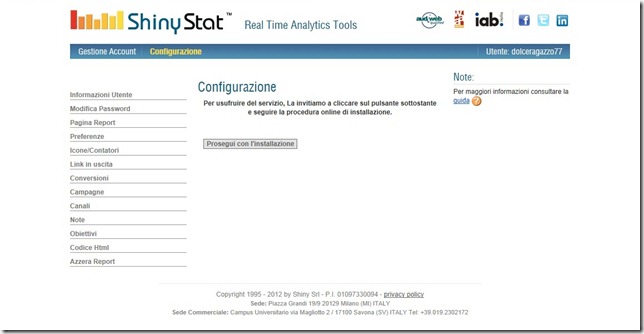
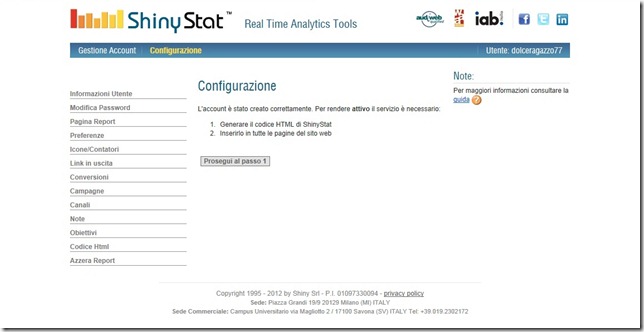
On the next page in Setup click on continue with installation.
On the next page in Classic Counter click on blue counter.
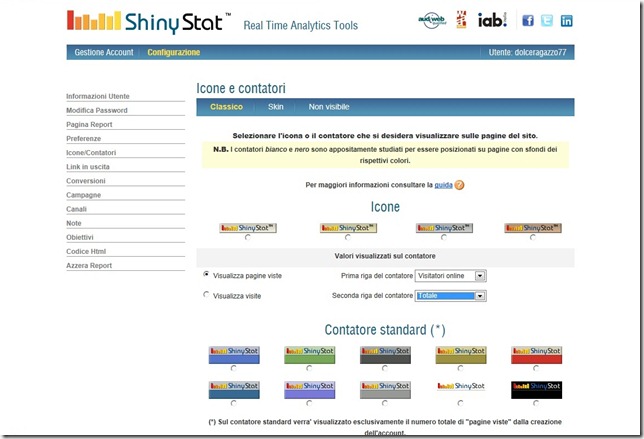
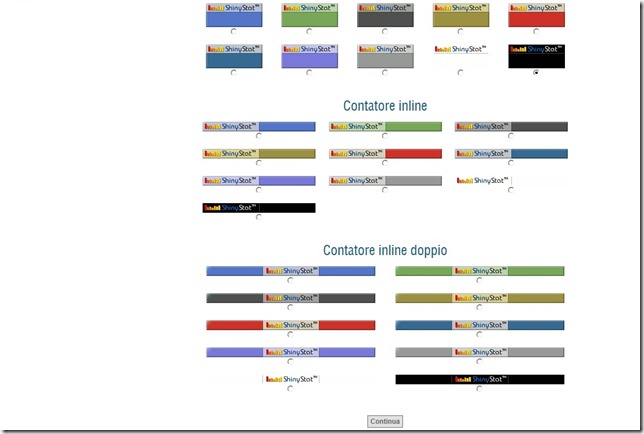
On the next page will display the counters at your disposal.
Select the desired counter, select the option Show pages visits to view the total pageviews of your blog, select the option Show visits to see your visits to unique visitors. In the first line of the meter and second row counter (this option will be available only if you select a counter with double line) from the drop-down menu select the option you want and once you have chosen the desired options and counter at the bottom of the page click on Continue.
On the next page in Setup click Continue to step 1.
On the next page select the option Select this option to get the ShinyStat W3C validated code and then click generate the code.
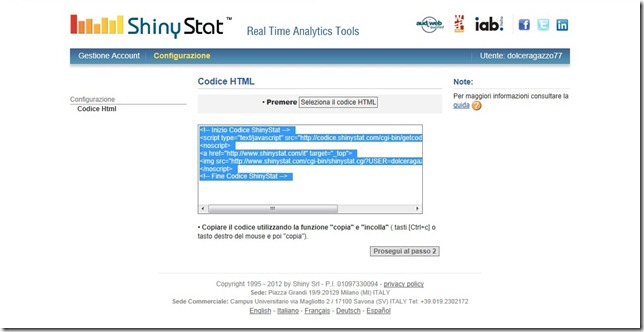
Wait until the code is generated and then click on Select the HTML code to copy the code.
Now you just have to paste the HTML code onto your blog. The code that is generated in HTML format then standard can be placed on any blogging platform.

